Virtual classes in CPR Enroll+ use a scheduled class with a Virtual Location — a saved video conferencing link (Zoom, Teams, Google Meet, etc.) that is automatically sent to enrolled students in their confirmation and reminder emails. There is no separate "Virtual Classes" section; virtual classes are managed the same way as all other classes.
Before You Begin
- Have your video conferencing platform ready, ideally with a permanent meeting room link.
- Know your class date, time, instructor, and max capacity before creating the class.
Step-by-Step Instructions
Step 1: Complete the Setup Checklist Before Class Day
- Create a Virtual Location record with your meeting room URL (Course Builder > Locations > + > Virtual). See What Is a Virtual Location and How Do I Create One? for full instructions.
- Create a class using the Virtual class type, selecting your virtual location from the Location dropdown.
- Set your date, time, instructor, and max capacity. Click Create.
- Students who self-enroll receive the meeting URL automatically in their confirmation email — no manual distribution needed.
Step-by-Step Instructions
Step 1: Complete the Setup Checklist Before Class Day
- Create a Virtual Location record with your meeting room URL (Course Builder > Locations > + > Virtual). See What Is a Virtual Location and How Do I Create One? for full instructions.
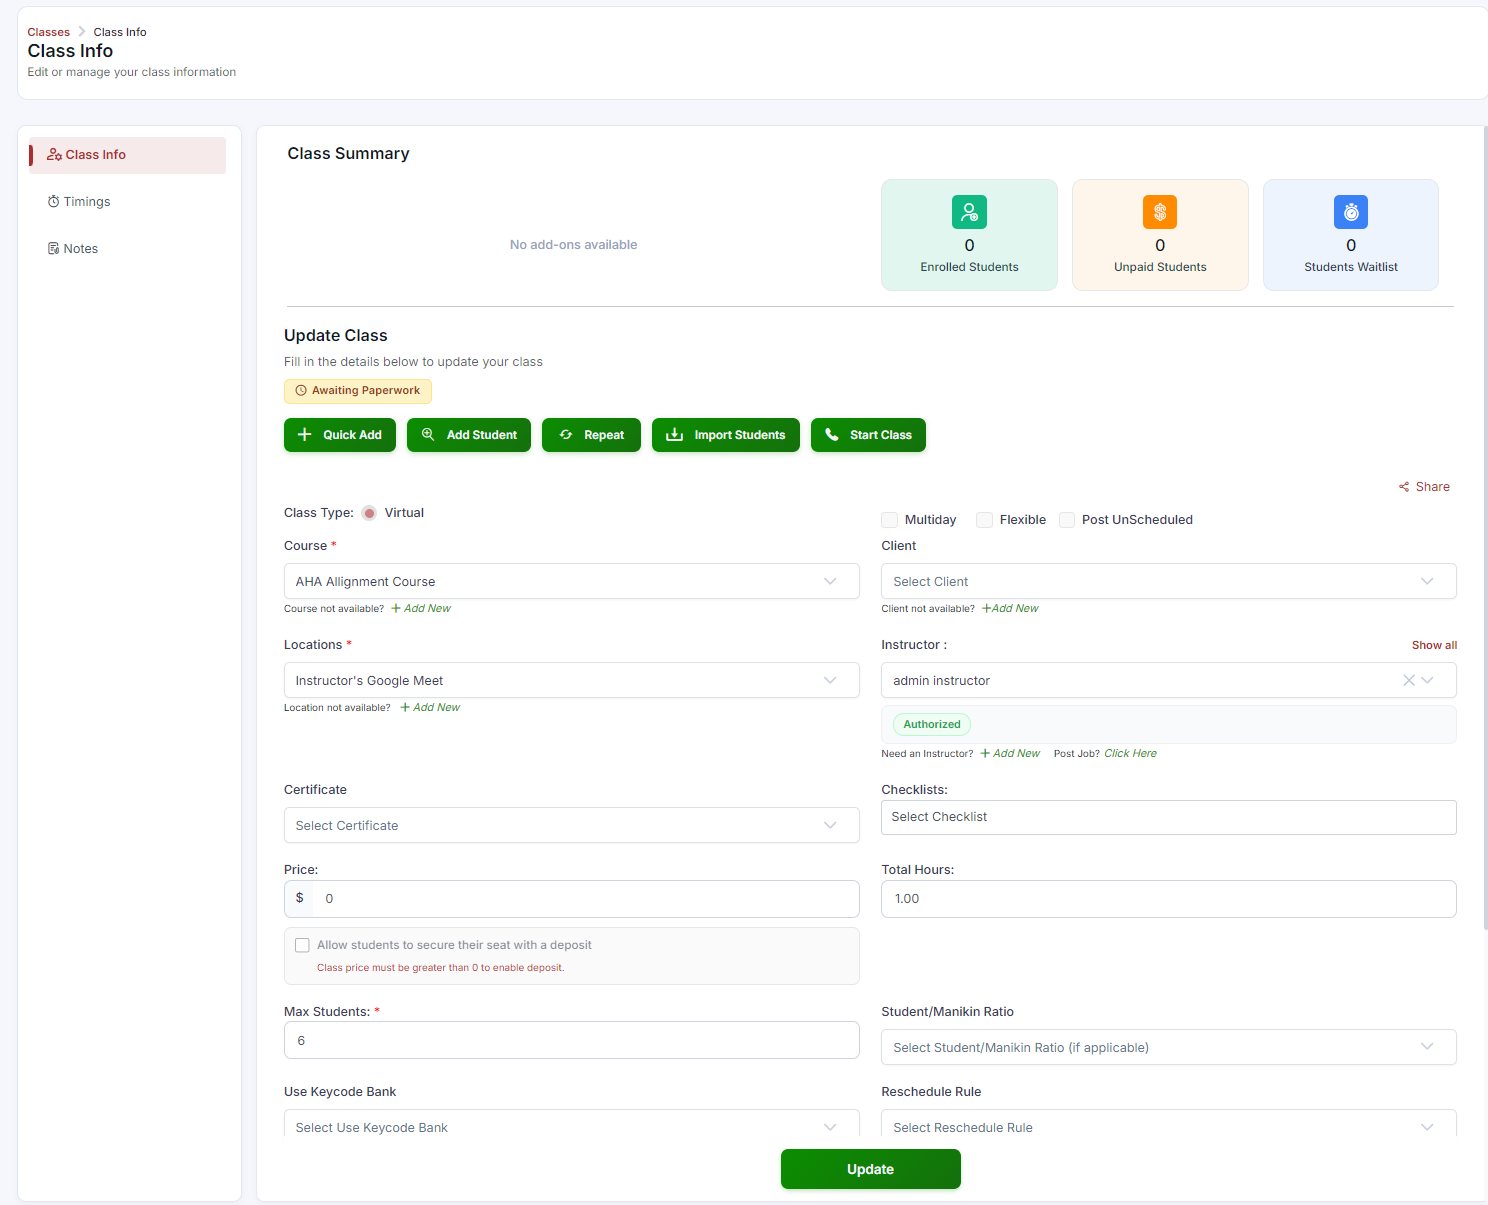
- Create a class using the Virtual class type, selecting your virtual location from the Location dropdown.
- Set your date, time, instructor, and max capacity. Click Create.
- Students who self-enroll receive the meeting URL automatically in their confirmation email — no manual distribution needed.
Step 2: Start Your Session on Class Day
- Log in to your video conferencing platform (Zoom, Teams, etc.) and start the meeting from your usual interface — CPR Enroll+ does not launch video calls directly.
- Admit students as they join from the waiting room.
- To view enrolled students before class, go to Classes in the sidebar, find the class, and click ⋮ > View Details. The enrolled student list is visible in the class detail view.
Step 3: Send a Reminder to Enrolled Students (If Needed)
If you want to send a last-minute communication with the meeting link:
- Go to Enrollments in the sidebar.
- Filter by your class to see all enrolled students.
- Select the students you want to notify and click ⋮ > Resend Enrollment Email to resend their confirmation (which includes the meeting URL).
Step 4: Record Attendance and Paperwork After Class
- Go to Reports > Student Attendance and use Mark as Present to record attendance for all students who attended.
- If paperwork is required for this class, go to Classes > ⋮ > Generate Class Paperwork to create skills assessment documents.
✔ Tip: Most video platforms offer a permanent meeting room link that never changes. Save this as your Virtual Location URL so the same link works for every session — you will not need to update the location record after each class.
Best Practices
- Set up your Virtual Location once with a permanent meeting link, rather than creating a new one for every class.
- Start your video meeting a few minutes early so you're ready to admit students as they arrive.
- Use Resend Enrollment Email for last-minute reminders rather than sending the meeting link manually.
- Record attendance right after class while it's fresh, so your compliance records stay accurate.
Frequently Asked Questions
| Question | Answer |
|---|---|
| Does CPR Enroll+ launch the video call for me? | No. You start the meeting from your usual video conferencing platform interface — CPR Enroll+ only manages the class record and distributes the meeting link. |
| How do students receive the meeting link? | Automatically, in their enrollment confirmation email and class reminder emails, once the class is linked to a Virtual Location. |
| How do I send a last-minute reminder with the meeting link? | Go to Enrollments, filter by your class, select the students, and click Resend Enrollment Email. |
✔ You're all set. Your virtual class is scheduled, students have their meeting link, and you know how to run the session from start to finish.
Was this article helpful?
That’s Great!
Thank you for your feedback
Sorry! We couldn't be helpful
Thank you for your feedback
Feedback sent
We appreciate your effort and will try to fix the article