
Adding clients to your CPR Enroll account is a fundamental step in managing your organization's interactions and relationships effectively. Follow these detailed instructions to seamlessly add clients to your account:
Access the People Section: Begin by navigating to the "People" section from your CPR Enroll Launchpad. You can find this option located below "Classes" and above "Enrollment" in the left corner of the screen.
Select Clients: Within the "People" section, locate and select the "Clients" option. It is positioned to the left of "Instructors" and to the right of "Students."
Initiate Client Addition: Once you're in the "Clients" section, press the green "Add Client" button situated beside the "Import Clients" option.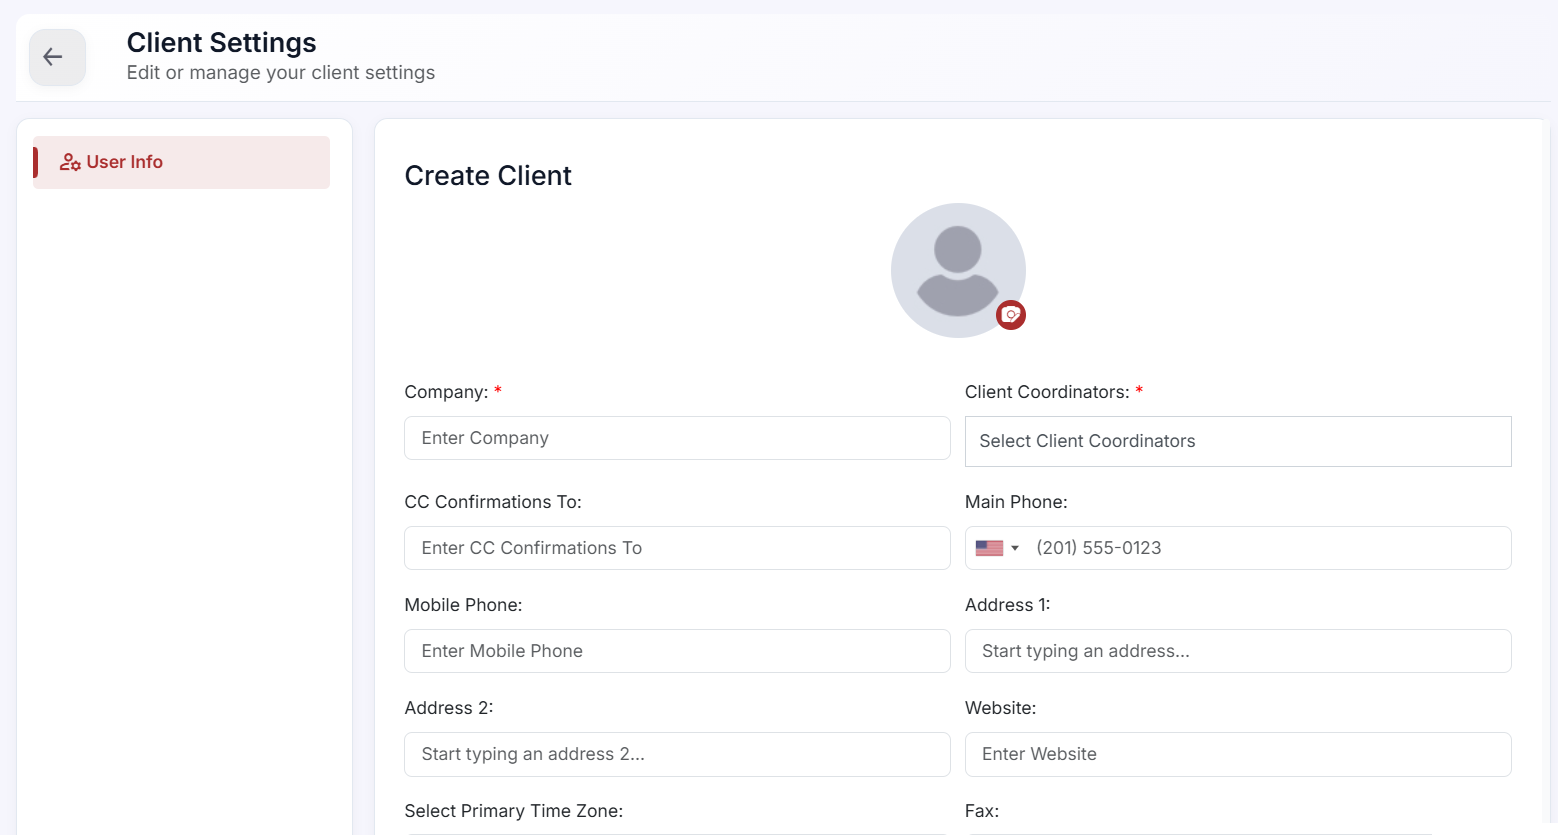
Enter Client Details: A pop-up window will appear, allowing you to input client details. Fill in the required information as follows:
Company: Enter the client's company name.
Abbreviation: Provide an abbreviation for the company, if applicable.
First Name: Enter the client's first name.
Last Name: Input the client's last name.
Username: Assign a username for the client's account.
Password: Set a password for the client's account.
Email Address: Provide the client's email address.
Contact Date: Select the date of contact with the client.
Website: Enter the client's website URL.
Main Phone: Input the main phone number of the client.
Address 1 and Address 2: Enter the client's address details.
Mobile Phone: Optionally, provide the client's mobile phone number.
Fax: Optionally, enter the client's fax number.
City, State, Zip: Fill in the client's city, state, and zip/postal code.
CC Confirmations To: Enter the email address(es) for CC confirmations, if applicable.
Upload Client Picture: Optionally, you can edit the picture of the client by clicking on the logo at the top middle portion of the pop-up window. This personalizes the client's profile and enhances identification.
Add Notes: Utilize the "Shared Notes" and "Internal Notes" sections to encode any relevant information or comments about the client.
Upload Client Public Cover Image: Optionally, you can upload a client public cover image for enhanced visibility. Ensure to use a 1358x570 image for the best fit.
Finalize Addition: After entering all necessary details and configurations, review the information for accuracy. Once satisfied, click the green "Create" button located at the center bottom portion of the pop-up window to finalize the addition of the client to your CPR Enroll account.
By following these comprehensive steps, you can efficiently add clients to your CPR Enroll account, enabling effective management of interactions and fostering strong client relationships.
Was this article helpful?
That’s Great!
Thank you for your feedback
Sorry! We couldn't be helpful
Thank you for your feedback
Feedback sent
We appreciate your effort and will try to fix the article