 Your profile page in CPR Enroll+ lets you personalize your presence within the platform and, for instructors, set up an email signature that is automatically included in student communications. This guide covers customizing both the admin/instructor profile and any public-facing profile elements.
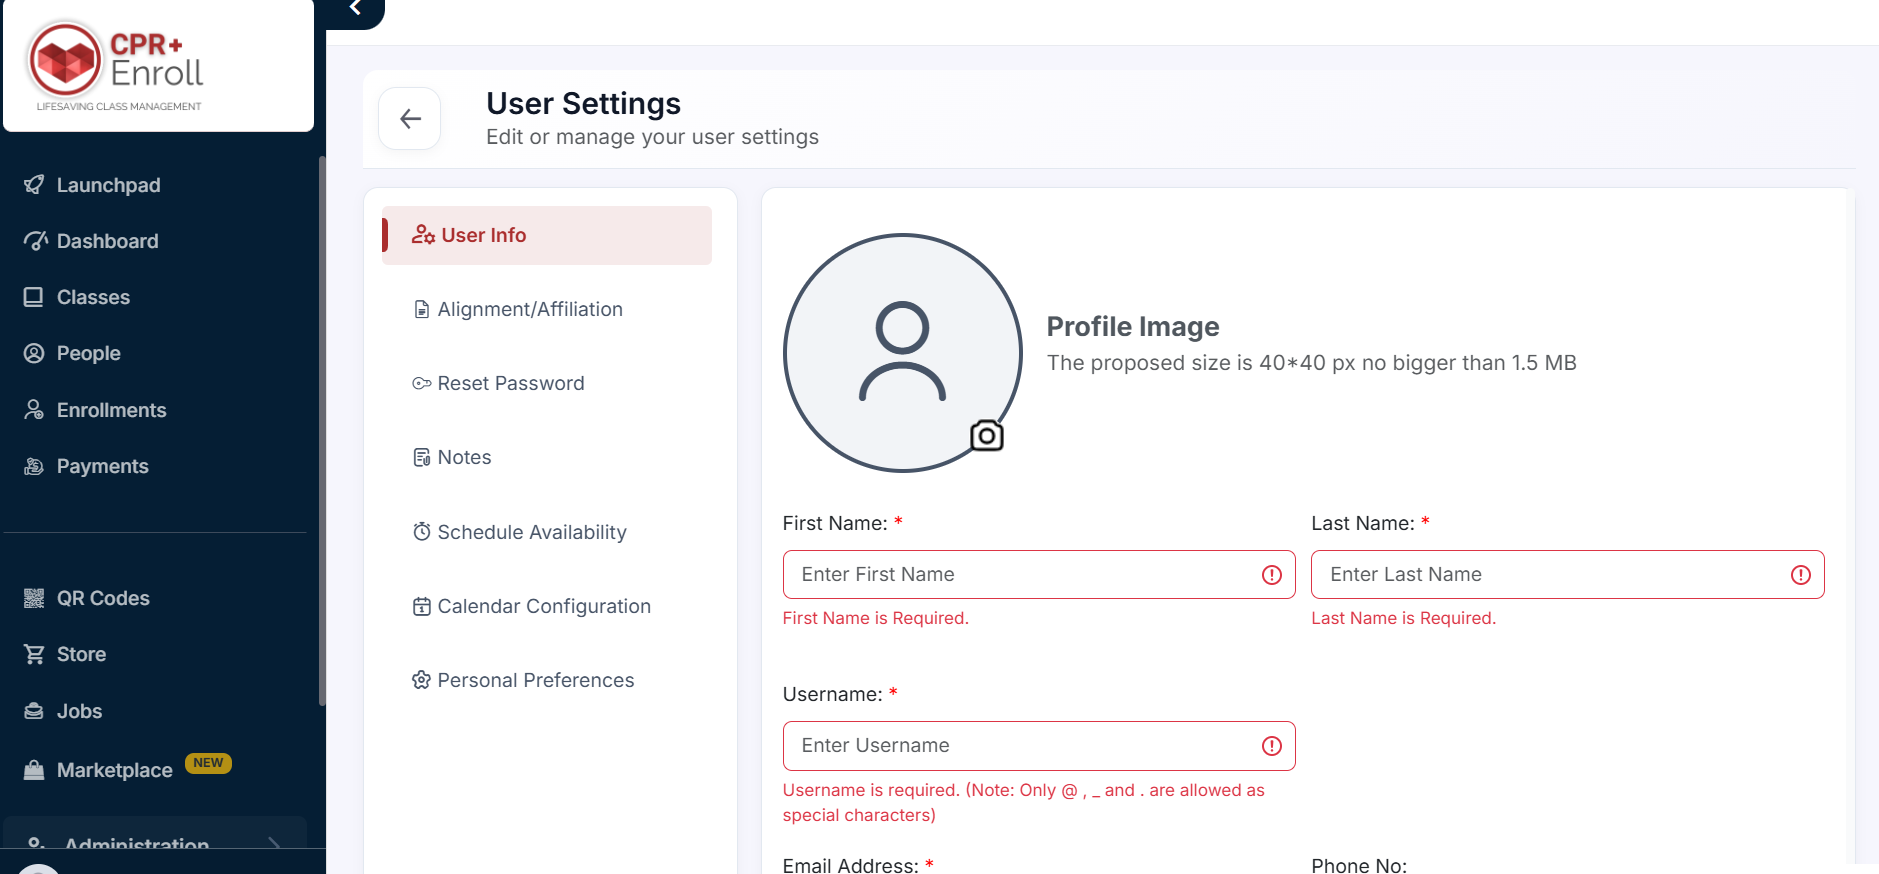
Updating Your Basic Profile Information
Click your username at the bottom of the left sidebar.
Select Profile or Account Settings from the dropdown.
Update your First Name, Last Name, Email, and Phone as needed.
Update your Address if required — the Address field uses Google Maps autocomplete.
Click Save.
Setting Up an Instructor Email Signature
Instructors can set a custom email signature that is automatically appended to enrollment confirmation emails sent to their students.
Go to People > Instructors in the sidebar.
Click ⋮ > Edit on the instructor profile.
Scroll to the Instructor Signature section.
Use the rich text editor to compose your signature. You can include your name, contact details, credentials, and a personal message.
Click the Custom Values dropdown in the editor toolbar to insert dynamic fields such as your organization name, instructor name, or contact details that auto-populate when the email is sent.
Toggle on Attach signature to Enrollment Confirmation Emails to activate it.
Click Save.
Was this article helpful?
That’s Great!
Thank you for your feedback
Sorry! We couldn't be helpful
Thank you for your feedback
Feedback sent
We appreciate your effort and will try to fix the article