 The Site Branding feature allows you to customize the look and feel of your student-facing pages to match your organization's unique identity. By enabling custom headers and footers, you can add logos, navigation links, policy disclaimers, or contact information directly to your main booking gateway.
Where Booking Page Settings Live
These settings now sit in two places: branding is under Settings, and the public link and embed code are in the Share registration window on the Classes page.
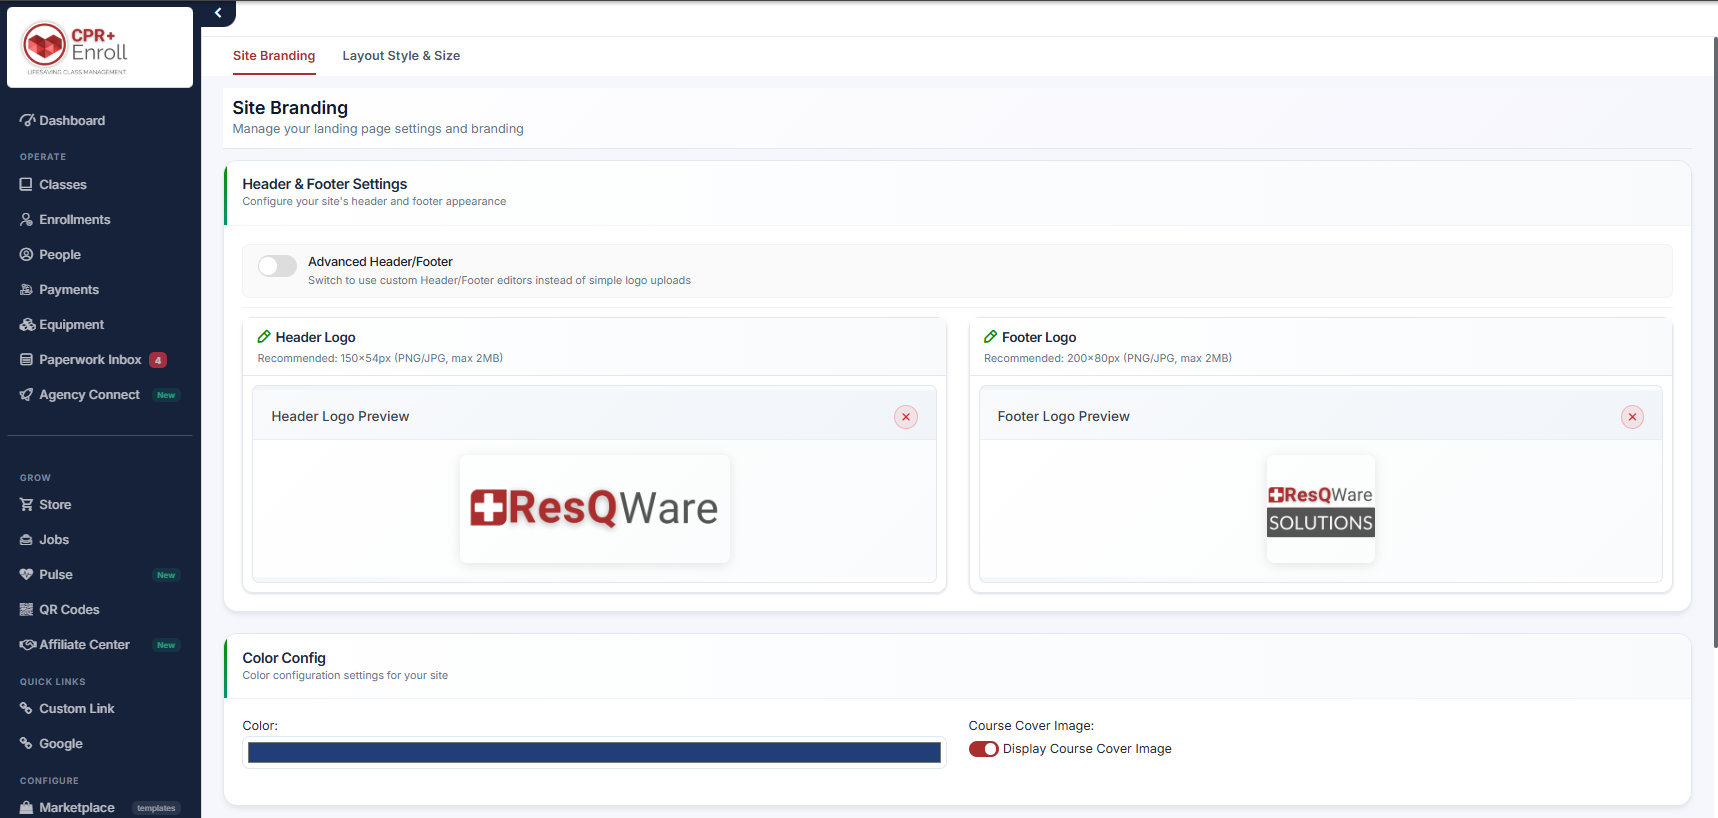
For branding: in the left sidebar, under CONFIGURE, click Settings to expand it, then click Site Setup. The page opens on the Site Branding tab.
Site Setup has two tabs: Site Branding — logos, colors, page description and social links — and Layout Style & Size, which controls how your classes are displayed on your public pages.
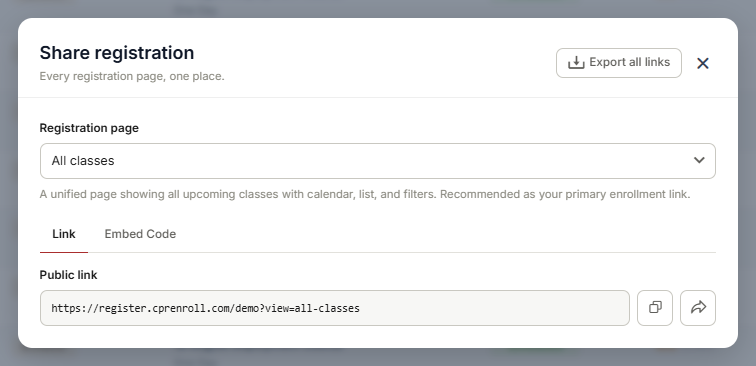
For the public link: go to Classes and click the link icon in the toolbar to open Share registration. Pick a registration page, then use the Link tab for the public URL or the Embed Code tab to embed it on your own website.
Configuring Your Custom Header and Footer
On the Site Branding tab, find Header & Footer Settings at the top of the page.
Turn on the Advanced Header/Footer toggle — “Switch to use custom Header/Footer editors instead of simple logo uploads”.
ℹ When enabled, your custom content overrides the default layout and will immediately display at the very top and bottom of your public booking page.
2. Add Your Branded Content
Once enabled, you will gain access to two distinct content editors:
Page Header: Use this area to customize the content appearing at the top of your booking page. This is ideal for your organization's primary logo, institutional branding, or helpful navigation links.
Page Footer: Use this area to customize the content appearing at the bottom of your booking page. This is best suited for copyright notices, terms of service, local contact information, or social media links.
3. Save Your Progress
Review your formatting within the editors. Once you are satisfied with the layout, click the Save Changes button at the bottom of the page to publish the updates to your live booking site.
Tips for a Consistent Look
Keep it Scannable: Ensure text sizes in your header and footer match your brand guidelines without overcrowding the central booking catalog.
Responsive Layouts: If you use advanced HTML snippets in these fields, verify that images or tables scale down cleanly for mobile users.
Was this article helpful?
That’s Great!
Thank you for your feedback
Sorry! We couldn't be helpful
Thank you for your feedback
Feedback sent
We appreciate your effort and will try to fix the article