 A course in CPR Enroll+ is the blueprint for your training program. It defines everything — the name, description, price, certification body, expiration period, and all the rules that apply to every class scheduled from it. You create a course once, then schedule multiple classes from it over time.
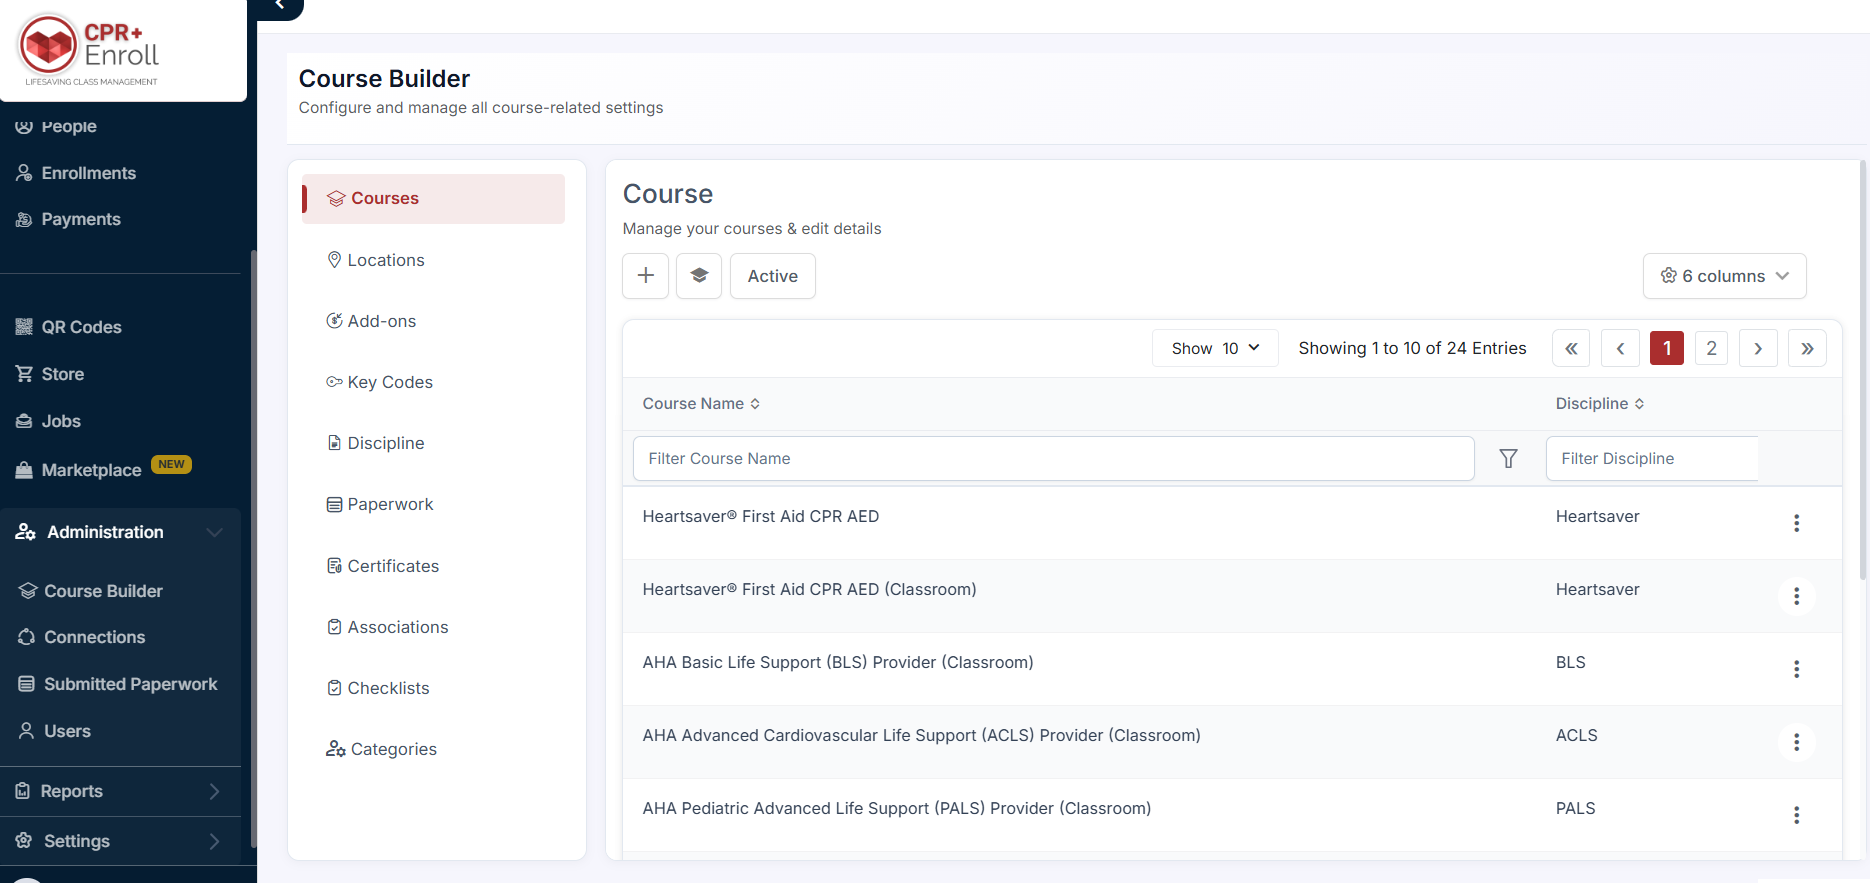
Creating a Course From Scratch
Go to Administration > Course Builder > Courses.
Click + Create.
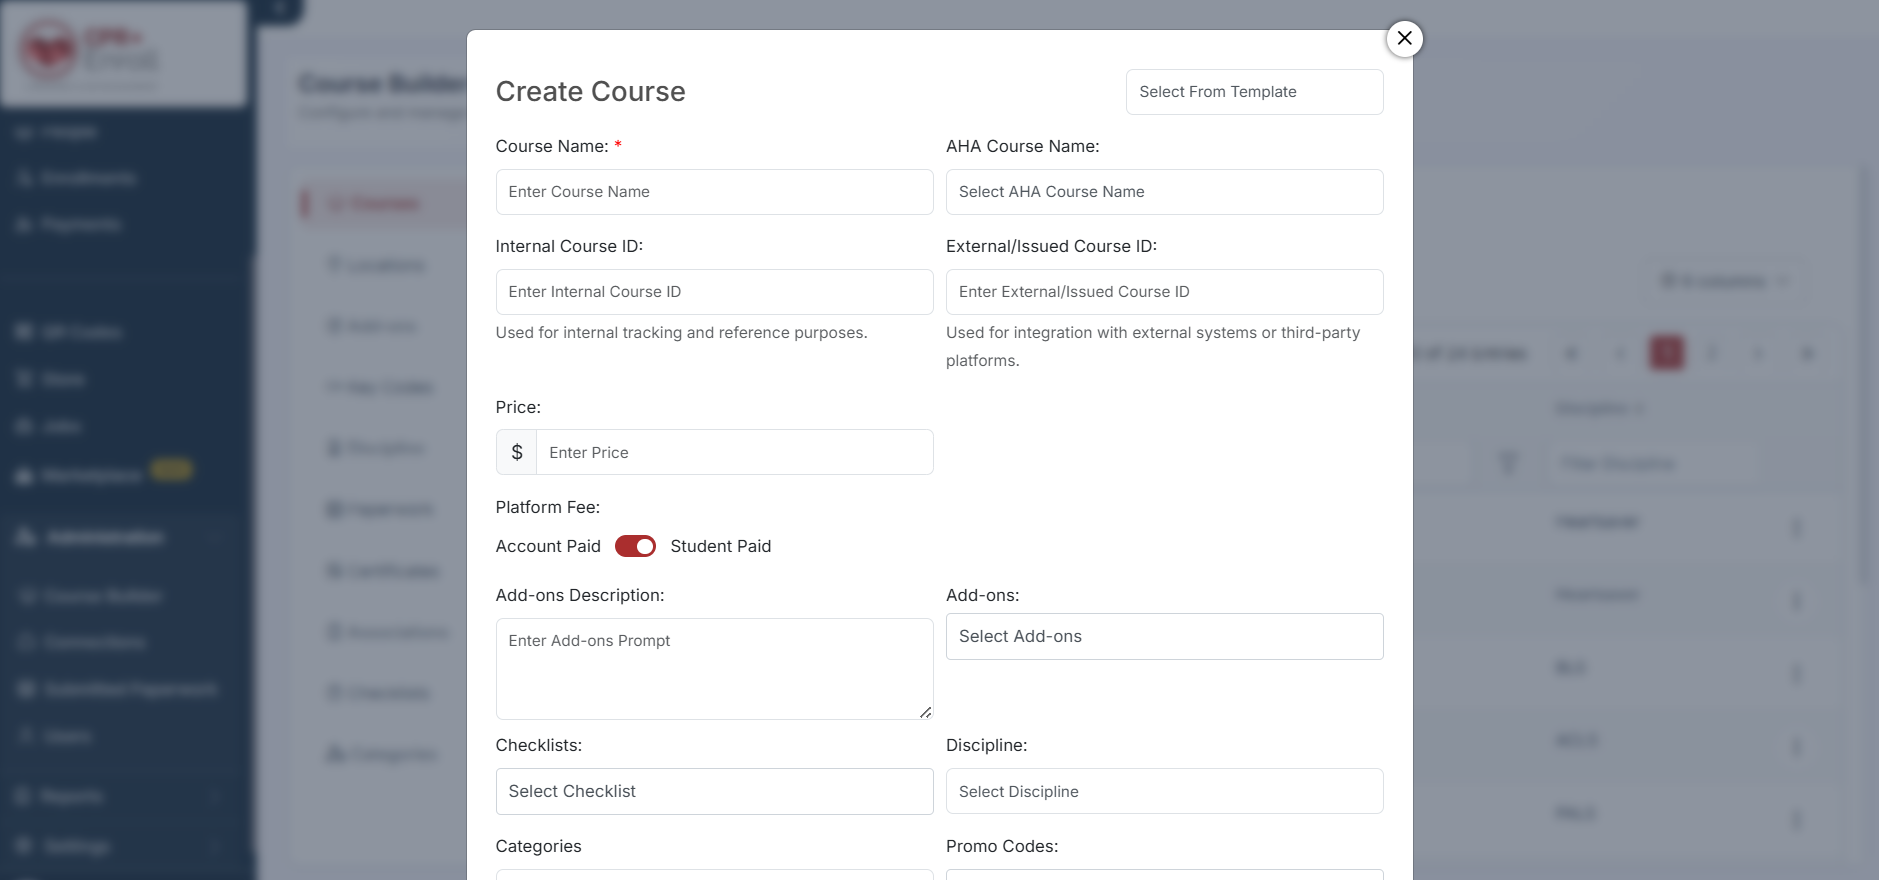
Fill in the required fields:
Course Name (required) — the name students see on your registration page
Expiration Years (required, default: 2) — how long the certification is valid
Price — the base enrollment price
Discipline — select from the 13 available disciplines
Association — select your certifying body (AHA, ARC, HSI, etc.)
Description — rich text description visible to students
Optionally upload a Course Image (322 × 220 px) and Cover Image (1358 × 570 px).
Click Save.
Creating a Course From a Marketplace Template
Click Marketplace in the sidebar and select Course Templates from the category dropdown.
Browse or search. Hover over a card and click Preview to review before importing.
Click Use Template. A modal opens with the course name pre-filled.
Edit the name if desired, then click Use Template to add it to your account with all fields pre-configured.
Key Settings to Review After Creation
Platform Fee — Student Paid or Account Paid
Minimum Enrollments To Start Class — minimum headcount required
Close Registration — days before class start that self-enrollment closes
Reminder Notifications — days before class for 1st and 2nd reminder emails
Add-Ons — supplementary products offered at registration
Registration Questions — custom questions students answer at enrollment
Cloning a Course
In the Courses list, click ⋮ > Clone.
The Create Course form opens pre-filled from the original. Modify the name and any other fields, then click Save.
Was this article helpful?
That’s Great!
Thank you for your feedback
Sorry! We couldn't be helpful
Thank you for your feedback
Feedback sent
We appreciate your effort and will try to fix the article